Can you remove sound, music or audio from a video? How about removing audio from video online? How to remove sound from video utterly for free in Windows 10? Now, if you read this post, you will find more ways to remove sound from video.
In this guide, you can learn how to take out sound from a video of .avi, .mp4, .flv, .wmv, or .mov step by step using the three best sound removal tools for Windows 10/8/7 computer. Also, you will find free online audio remover here to mute your video.
How to remove sound from a video in Windows 10
Method 1. Use Adobe Premiere Pro
1. First, download and install Adobe Premiere Pro for Windows 10.
2. Once installed, open the program.
3. In the Top Bar menu, click File > New.
4. After that, import your video clips by dragging them into the dashboard or pressing CTRL+I keyboard shortcut.
5. Once imported, drag and drop the video/clips into the timeline.
6. When the videos appear in the timeline, right-click on them, and from the popping menu choose Unlink. This will unlink the audio from the video on selected video clips.
7. Choose the audio layers you want to remove and delete them.
A super-easy method to delete audio from a video clip is by using Adobe Premiere Pro.
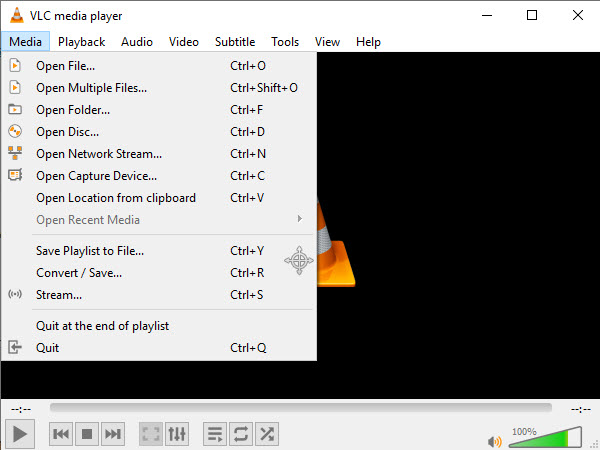
Method 2. Use VLC Media Player
VLC Media Player is a great video editing software tool, especially for casual users who often look for an easy way to split audio from video.
 VLC media player for Windows 10
1. To begin, download and install VLC Media Player for Windows 10.
2. Launch the VLC Player program.
3. Click Media then select Convert/Save.
4. Click Add from the next screen.
4. Go to the current location of the Video whose sound you want to delete. Choose it from wherever it is then click Open. Now the video is loaded ready for audio separation.
5. Next, select Convert/save.
6. When the video conversion window opens, select a suitable Output mode under the Profile section.
7. Now click on the Edit selected profile.
8. Then, go to the Encapsulation tab, you can choose a Video container of choice.
You are free to choose any other appropriate option depending on the type of video you are removing sound from.
9. After that, switch to the Video codec tab and tick the Keep original video track checkbox.
10. Go to the Audio codec, you will deactivate the Audio provision by deselecting it.
11. Click Save to save all these settings.
12. It’s now time to select where you want the new Video file saved. Click Browse next to the Destination File.
13. Choose the desired location, give a fitting File Name for this file, and click Save.
14. Finally, click on Start button. You are almost done.
Note: Do not close VLC During Conversion process.
The VLC Player will now convert your original video and output it without the annoying sound.
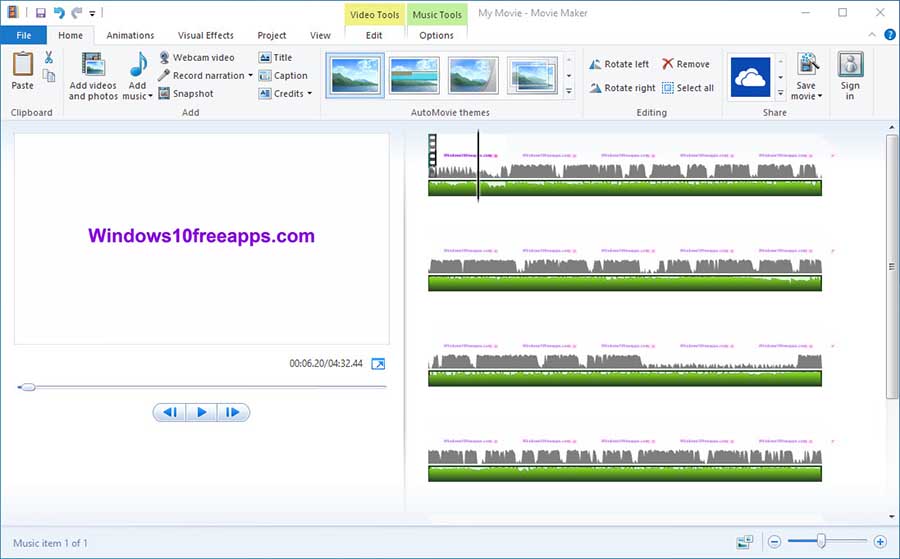
Method 3. Remove Audio from Video Using Windows Movie Maker
Windows Movie Maker is a video editing software created by Microsoft. It allows you to mute a video or remove sound from a video by changing the volume to zero. Mainstream formats are supported, including MOV, MP4, MKV and so on. Here are the steps:
1. Download and install Windows Movie Maker for Windows 10.
2. Launch Windows Movie Maker.
3. After that, import videos to Movie Maker. You can easily drag and drop your video into the editing area.
4. Choose the video file you want to remove audio from.
5. Remove the audio.
– To begin, click the Video Tools.
– Then, click on the Edit button and then you will see Video Volume on the very left side of the menu with a speaker next to it.
– Lastly, choose the speaker and move the dial to the left where the speaker is crossed off (no sound).
6. Go to the Home tab and click Save movie. You can choose the export settings from the dropdown menu. The easiest method is to click Recommended for this project, which will give you an MP4 video without sound.


 & Mac OS")
