If you receive the “The specified module could not be found” error, don’t panic, this post is helpful for you.
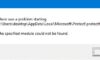
As the name suggests, “The specified module could not be found” error is a RunDLL error. This error often happens when launching a particular program or on Windows startup. It is typically caused by corrupt or missing .dll files.
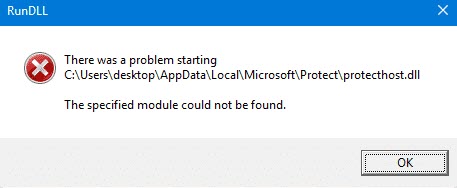
The specified module could not be found
See more: How To Fix The Startup RunDLL Error on Windows 10
How To Fix “The specified module could not be found” Error In Windows 10
Here are 3 methods that have helped other users resolve the The specified module could not be found error.
Method 1. Run the SFC scan
SFC (System File Checker) is a utility in Windows 10 that checks for problems with files on your computer (including those related to error The specified module could not be found). Here are the steps to run the SFC scan:
1. Open Command Prompt as Administrator.
2. Type the following command and press Enter:
sfc /scannow
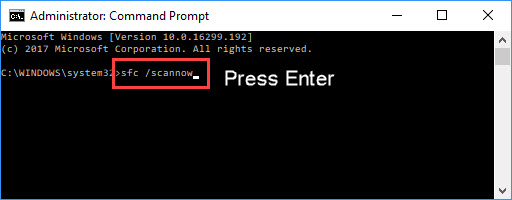
3. Wait for process to complete and then restart your computer for the changes to take effect.
Method 2. Scan Your System For Viruses
Perform a full system scan and check if it detects any malware on your PC. You can use Windows Defender (built-in antivirus program), which protects the computer against spyware, viruses, and other malicious software.
Here are the steps to run a full system scan using Windows Defender:
1. Type “virus” in Search and select the “Virus & threat protection” result.
2. In the Virus & threat protection window, click “Scan option“.
3. Choose “Full scan” and then click “Scan now“. This will start scanning your system for malware. If there are any viruses found, delete them.
You may also like: 8 Best Antivirus For Windows 10
Method 3. Delete files in registry
Note: We would recommend you create System Restore point before editing registry.
Another reason for the “The specified module could not be found” error is the damaged Windows registry entries. If that’s the case, you need to delete those files for your computer to run properly again. Here are the steps:
1. Press the Windows logo key + R at the same time, and then type in “regedit“. Click OK to open the Registry Editor.
2. Go to HKEY_LOCAL_MACHINE > Software > Microsoft > Windows > CurrentVersion. Delete Run.
3. Go to HKEY_CURRENT_USER > Software > Microsoft > Windows > CurrentVersion. Delete Run.
4. Go to HKEY_LOCAL_MACHINE > Software > Microsoft > Windows > CurrentVersion. Delete RunOnce.
5. Go to HKEY_CURRENT_USER > Software > Microsoft > Windows > CurrentVersion. Delete RunOnce.
6. Restart your computer and see if if it works.
Check out this video to illustrate this tutorial:
Hope something helps you.


")
 & Mac OS")