In this tutorial, we will show you how to download and run Jnes emulator for Windows 10/8/7.
JNES is a cool Nintendo NES emulator for Microsoft Windows with an enjoyable and intuitive user interface which has been translated into 20 languages.
It doesn’t have a lot of features like some other emulators but is probably the easiest one to use. It doesn’t require any complicated setup, and doesn’t have any known experience issues.
Jnes requires at least a Pentium 133 (MMX prefered) and a good video card with 2D acceleration.
How To Download and Install For Windows 10/8/7
Step 1. Download Jnes 1.2.1 for Windows from this link.
Step 2. Once you have downloaded Jnes for Windows, double-click “jnes_1_2_1.exe” to install the NES emulator on PC.
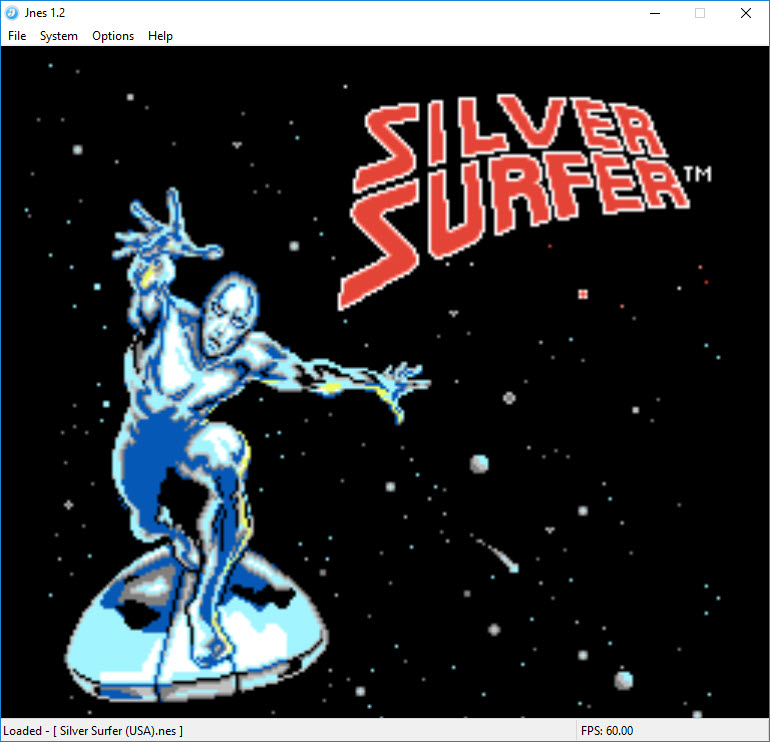
Step 3. Go to the folder where your NES ROMs reside. Then choose the game you want to play, then click Open.
Now you can play play Nes emulator games on Windows PC.
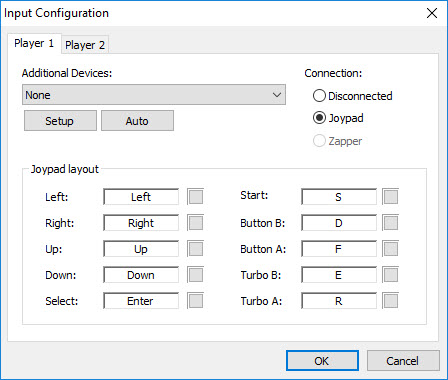
To map a keyboard or gamepad button on your PC to a controller button, go into Options > Input…
Notes: For Jnes to work properly, you need to have the latest drivers (video, sound, DirectX) installed.
Here is the video for the illustration of this tutorial:
Hope something helps you.


 & Mac OS")

