In this tutorial, learn how to disable rounded corners in Windows 11.
Microsoft has reworked the design of the edge and incorporated softened edges instead of the sharp ones that were one of its primary features in Windows 11. Many important UI components like as context menus and flyouts have rounded corners in the new operating system’s design.
However, rounded edges may not be suitable for all people. This is despite the fact that Microsoft has made it possible for users of Windows 11 to personalize many areas of the operating system. Fortunately, there are still a couple strategies that can help you regain the sharp corners, and we’ll walk you through them in depth in this post.
Let’s get started now!
How to Disable Rounded Corners in Windows 11?
Method 1. Download a Program
Rounded corners may be disabled in Windows 11 by downloading an executable file (.exe) as described here.
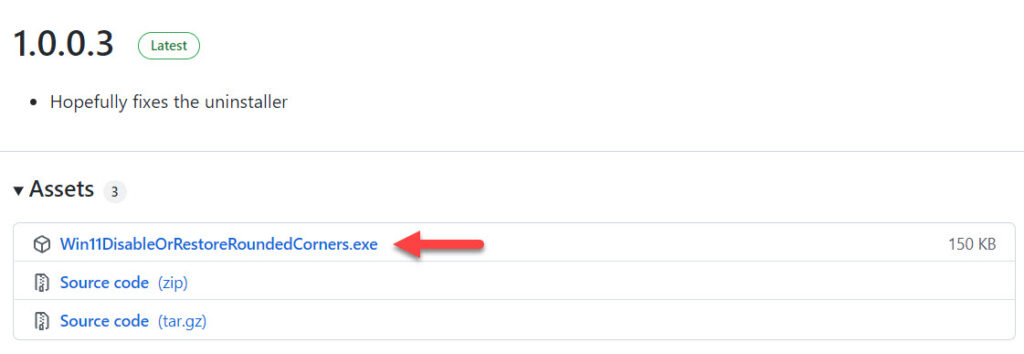
1. Download the Win11DisableOrRestoreRoundedCorners.exe software from this source.
2. After the file has been downloaded, open File Explorer.
3. Right-click on the downloaded file and click Run as administrator from the context menu.
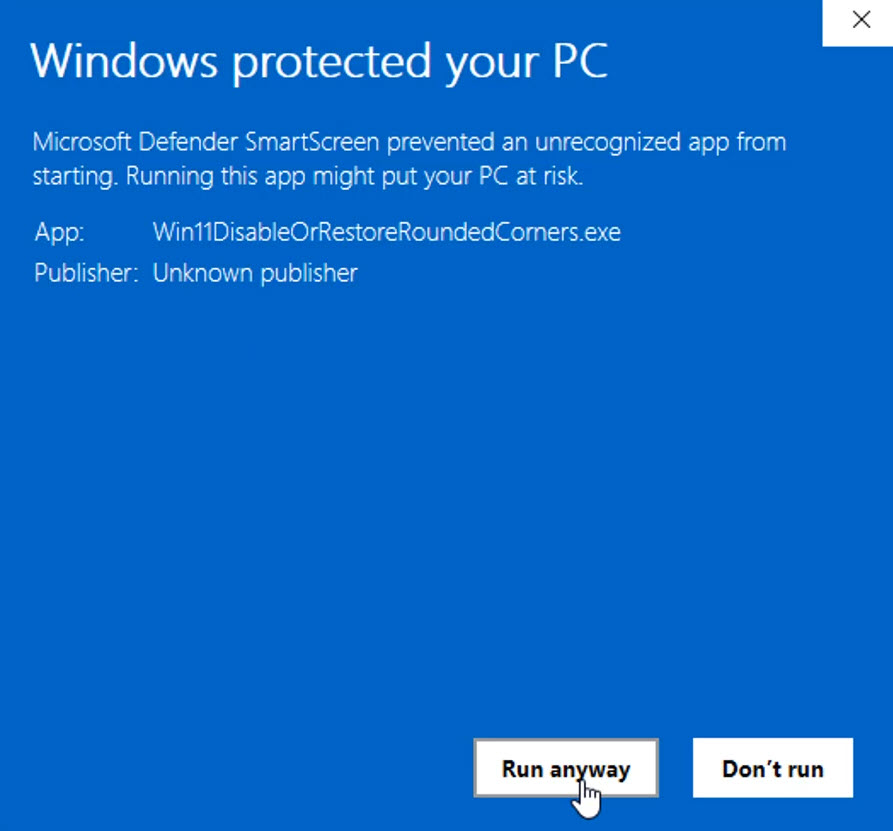
4. Click on More info and then select Run anyway in the next window.
5. After a few moments of inactivity, you should be able to access your Windows 11 desktop.
6. Refresh the page by right-clicking anywhere on the screen and clicking Refresh. To get rid of rounded edges on your operating system, follow these instructions.
Method 2. Turn Off Hardware Graphics Acceleration
The process of outsourcing computational activities to dedicated components in order to improve performance is known as application acceleration. As a result, the system is more efficient than it would be with a general-purpose CPU.
PRO TIP:
Try Restoro Repair to check the repositories and repair corrupt and missing data if the problem is with your PC or laptop/notebook.” This works in most circumstances if the problem stems from a corrupted computer system. Get Restoro Now
Turning off hardware graphics acceleration disables the rounded edges. However, it is important to keep in mind that this procedure will also remove other aesthetic aspects, such as transparency.
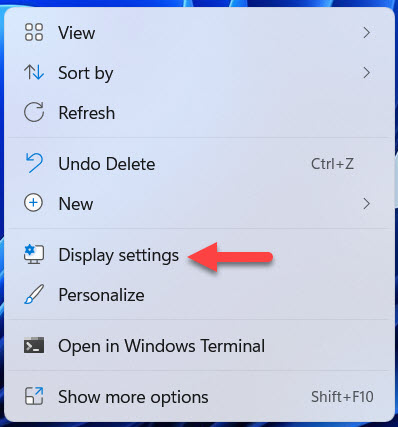
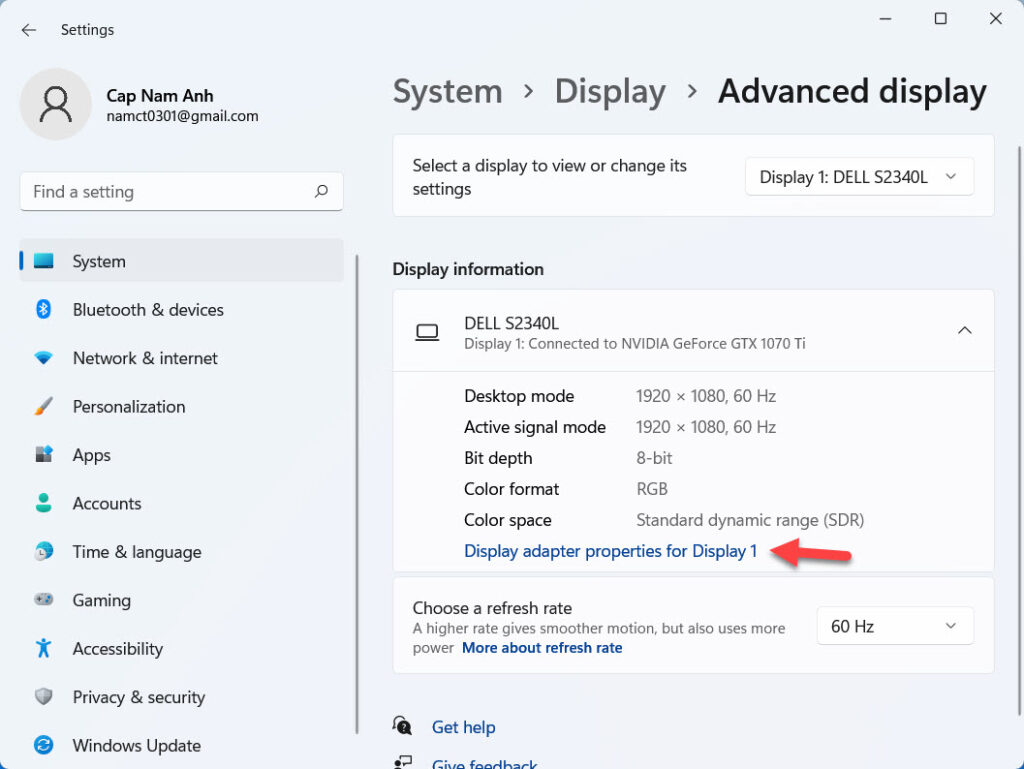
1. Right-click anywhere on your desktop and then pick the Display settings option.\
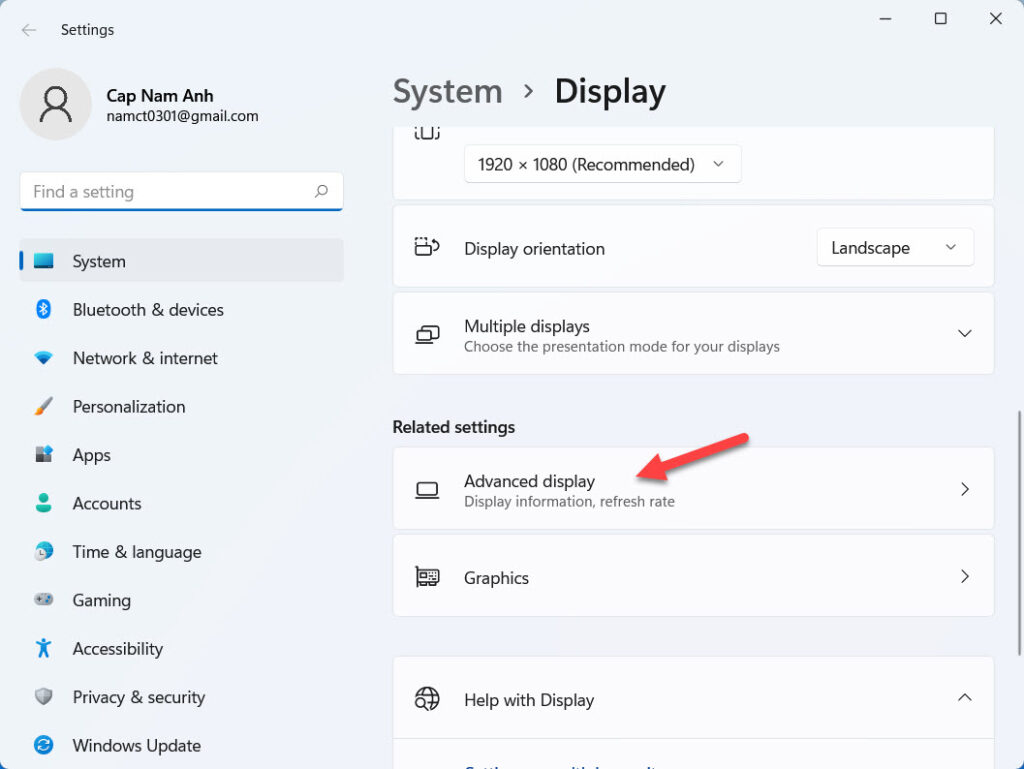
2. Click on Advanced display at the bottom of your screen.
3. Select your Display adapter and click on the Display adapter properties link.
4. The Graphics Properties window should now be open. Go to the Troubleshoot tab and click on the Change settings button.
5. Move the cursor all the way to the left in the next window to disable hardware acceleration.
6. Lastly, click OK and exit to successfully disable rounded corners.
Method 3. Disable Graphics Hardware
Disabling the graphics hardware will also turn off the rounded edges in Windows 11. However, disabling your graphics card may slow down Windows and prevent you from using 3D applications or games until you re-enable your graphics card.
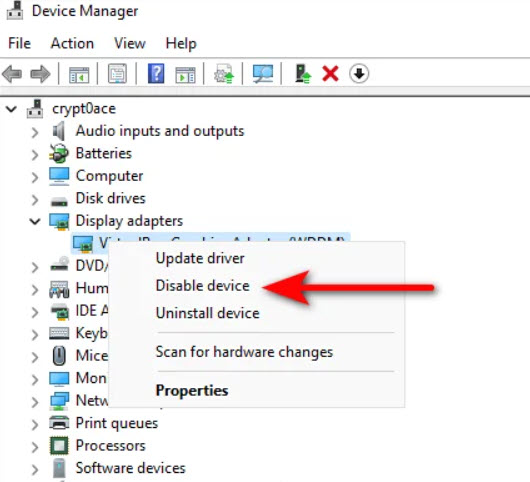
1. In the Windows search bar, type Device Manager and select Device Manager from results.
2. Now go to Display Adapters and right-click on the display adapter listed.
3. Select Disable Device. Thus, the rounded edges are turned off.
Check this video for more help:
That’s about it.


")
 & Mac OS")

