In this tutorial, learn how to fix, if you get “Windows can’t set up a homegroup on this computer” error while creating new HomeGroup on Windows 10.
We all know that, networking is a crucial part on every computer, especially if you need to connect different machines for sharing files and collaborate with other users. However, after upgrading to Windows 10, many users find HomeGroup not functioning properly. According to those who are receiving this issue, they can’t setup new HomeGroup on Windows 10. Here is the error message occurring in this case:
Windows can’t set up a homegroup on this computer.
In addition, some other users also reported they who have created HomeGroup on their previous Windows editions (like Windows 8/8.1 or Windows 7) and after upgrading to Windows 10, the HomeGroup is no longer detected or recognized. Here is the error message that occurs on the screen in this case:
Windows no longer detects a homework on this network. To create a new homegroup, click OK, and then open HomeGroup in Control Panel.
So how to get rid of this problem? Well, if you’re also experiencing this problem, you might want to try some of these methods:
FIX: Windows Can’t Set Up A Homegroup On This Computer in Windows 10
Method 1. Enable Peer network grouping services
Sometimes this issue can happen that services needed for Homegroup to work are disabled for some reason, but there’s a method to start them.
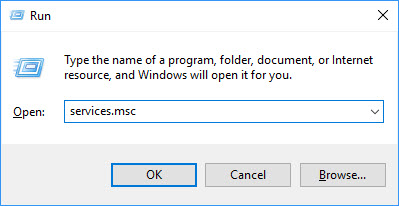
Step 1. Press Windows Key + R and put services.msc in the Run dialog box. Click OK or tap Enter to open Services snap-in.
Step 2. In the Services window, scroll down and look for the search the list for Peer Network Identity Manager, Peer Network Grouping, Homegroup Provider, and Homegroup Listener. Since you’re getting this problem, those services might not be running.
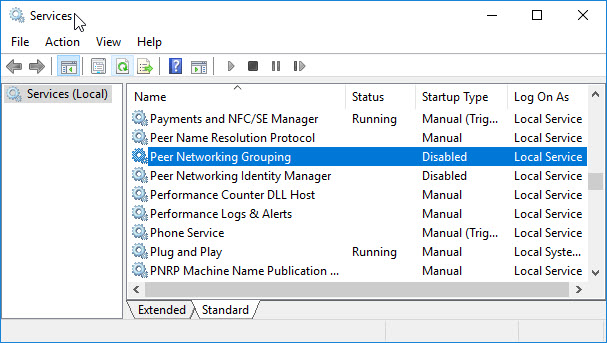
Step 3. Make sure that the Service is Started. If not, set the Startup type to Manual and click Start. Click Apply> OK.
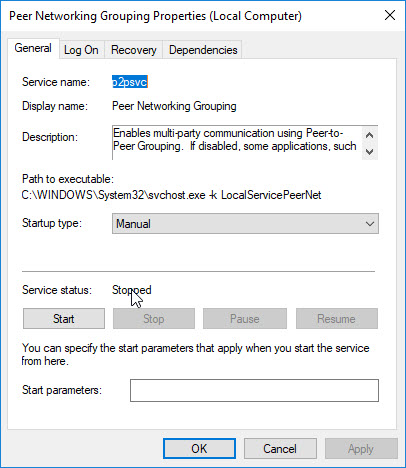
Step 4. You can close the Services window then try to create new Homegroup and check if it works.
See also:
- Error 1068: The dependency service or group failed to start
- Error 1079: The account specified for this service is different from the account specified for other services running in the same process
Method 2. Delete idstore.sst File
In case if METHOD 1 didn’t work for you, here is an alternative.
Step 1. Press Windows Key + E to open File Explorer. In the File Explorer ribbon, navigate to View tab and check File name extensions and Hidden items options.
Step 2. Then go to the following location:
C:\Windows\ServiceProfiles\LocalService\AppData\Roaming\PeerNetworking
Step 3. In PeerNetworking folder, find the idstore.sst file and delete this file (or rename it to idstore.old.sst).
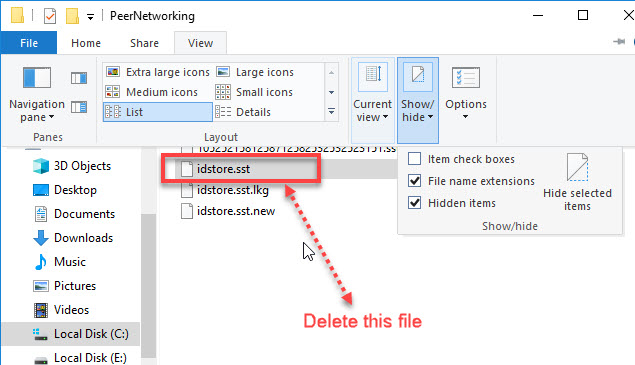
Step 4. Now you can close File Explorer and reboot the machine.
After restarting your computer, create new Homegroup and see if it works.
See the following video to illustrate this tutorial:
Hope something helps you.

")
 & Mac OS")


