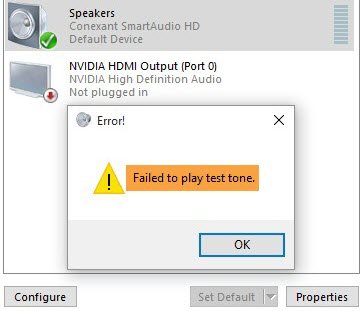
If you run into the “Failed to play test tone” error while testing your speaker or headphone, so here’s how to fix. Users usually use the test tone to check the left-right balance of speakers and headphones. However, if you cannot do so, then this post is useful for you.
This error message could be caused by corrupted Windows files, corrupted audio drivers and sound configurations. If your run into Failed to play test tone error on Windows 10, the following solutions would fix the problems:
– Restart Windows Audio related services.
– Repair Corrupted Windows Files.
– Change the sound format.
– Disable all audio enhancements.
See more: How to fix the Audio renderer error on Windows 10
How to Fix “Failed to play test tone” error on Windows 10
FIX 1. Restart Windows Audio related services
Windows starts the Audio services once every boot. However, if this Service fails to start, this issue could arise. So you need to start it manually. Here are the steps:
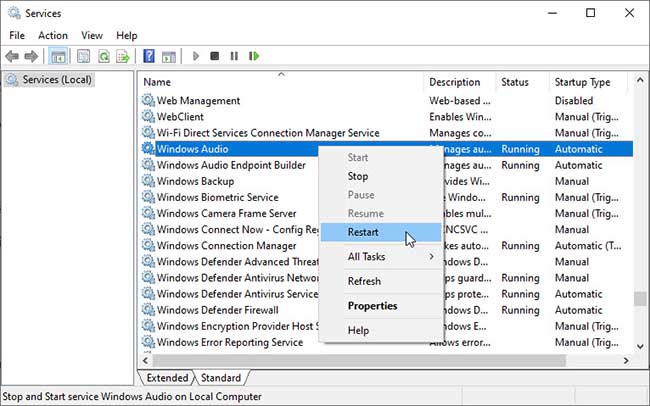
1. Press Windows Key + R then type services.msc in the Run dialog box. Click OK to open Windows services list.
2. Now find the following two sevices:
- Windows Audio
- Windows Audio Endpoint Builder
3. Double-click on one and check if its Startup type is set to Automatic – and if the Service status is set to Running or not. If it is not, then click on the Start button and choose Automatic from the drop-down menu. Click Apply > OK to save changes.
4. Exit the Services window and you should have your sound back.
FIX 2. Repair Corrupted Windows Files
This is the simplest solution you could try to resolve “Failed to play sound test tone” error message. Simply run the “sfc /scannow” command to check and repair the corrupted system files. Here are the steps:
1. Start a Command Prompt as Administrator.
2. When Command Prompt opens, type sfc/scannow and press Enter. The repair process will now start.
3. When the SFC scan is complete, restart your system.
FIX 3. Change the sound format
If you’re usually facing Failed to play sound test tone error message, you might be able to solve the issue simply by changing your audio format. Follow these steps:
1. Press Windows Key + R then put “mmsys.cpl” in the Run dialog box and click OK.
2. When the Sound window appears, make sure that your speakers and headphones are set as the default device. If not, you can set them by right-clicking the device and click Set as default device from the menu. Choose your audio device and press on Properties button.
3. In Speakers Proprieties, click on the Advanced tab, and under Default Format, select a different audio format. Click on Apply > OK to save changes.
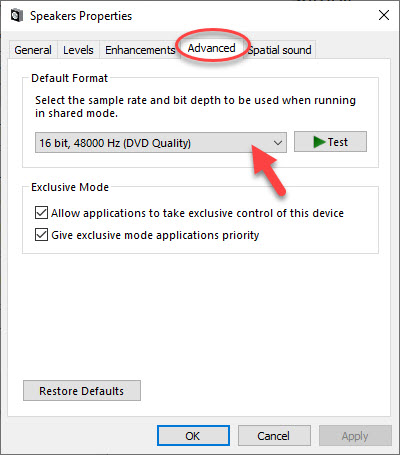
If changing the format doesn’t work, click on the Restore Defaults button and test if the sound’s back.
FIX 4. Disable all audio enhancements
Failed to play sound test tone error message usually appears if you’re using certain audio enhancements. To fix the problem, you need to disable all sound effects and audio enhancements by doing the following:
1. Open Speaker Properties.
2. When the Sounds window appears on your screen, under the Playback tab right-click the Default Device – Speakers/Headphones and click Properties.
3. Go to the Enhancements tab and select the Disable all enhancements check box. Click on Apply > OK to save changes.
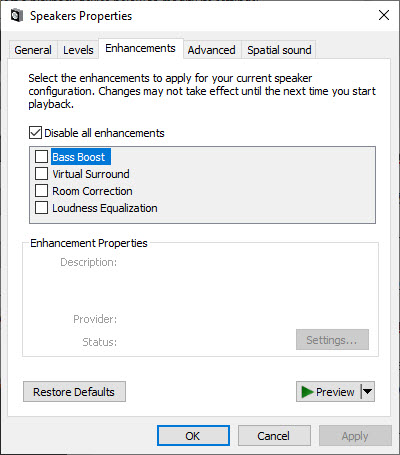
4. After disabling all the enhancements, try to play the test tone and your sound will start working again.
Check this video to illustrate above shared solution:
Hope something helps you.


")
 & Mac OS")

