Dolby Audio enhances digital audio output to create a distinctive sound experience. It allows the user to adjust the sound system to create an experience that can only be had in a theater. Simply follow the steps in this article to install Dolby Audio on your Windows 10 computer.
Note: – You can install Dolby audio as a Microsoft store product here instead of using the technique described below.
#1 – install Dolby Audio in Windows 10 as Store Product
1. Simply visit to this Microsoft Store link.
2. From there, install Dolby audio.
Voila. It’s damn easy like that.
#2 – How to install Dolby Audio in Windows 10 as a Software
STEP-1 INSTALL THE DOLBY DIGITAL PLUS AA DRIVER
To download and install Dolby Audio on Windows 10, follow these steps.
1. Download “Dolby Digital Plus Advance Audio“ from here.
P/w: windows10freeapps
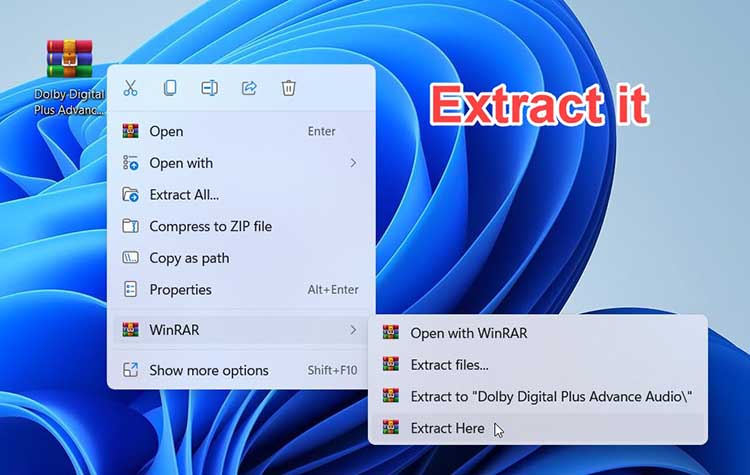
2. Once downloaded, extract the “Dolby Digital Plus Advanced Audio” file to a location of your choice.
4. Then, open the Settings window by pressing Windows + I.
5. Now select “Update and Security” from the drop-down menu.
6. Then select “Recovery“.
7. After that, select “Restart Now” from the “Advanced Startup” option.
8. Then select “Troubleshoot” from the drop-down menu.
9. To troubleshoot the problem, select “Troubleshoot“.
10. Then select “Advanced settings” from the drop-down menu.
11. The “Startup Settings” can be accessed.
12. Click “Restart” to restart your computer in safe mode.
13. To disable the ‘Disable Driver Signature‘ option, press “7“.
14. Press Windows key+X and then select on “Device Manager“.
15. Expand “Sound, video and game controllers“.
16. Right-click “Realtek(R) Audio” and click “Update driver” from the drop-down menu.
17. Simply select “Browse my computer for driver software” from the drop-down menu.
18. Select “Let me choose from a list of available drivers” in the next window.
19. Now select “Have Disk“.
20. Then select “Browse” from the drop-down menu.
21. Click “Dolby Digital Plus Advance Audio” in the Locate File window.
22. Select a folder based on the CPU architecture.
23. Next, double click on “64 bit“.
24. Now, open the “Drivers” folder.
25. Then choose “Digital Plus AA“.
26. Now, select “Open” from the drop-down menu. Then click OK.
27. Select “Dolby Digital Plus Advance Audio” from the drop-down menu.
28. Then select “Next“.
29. If a warning notice appears, select “Yes“.
To finish the update, you will need to restart your computer.
STEP-2 INSTALL THE SETUP FILE FOR DOLBY DIGITAL PLUS AA-
Follow these instructions to install Dolby Digital Advanced Audio on your computer after it has been rebooted.
1. Return to the location where the zip file was extracted the first time.
2. To get to the “Dolby Digital Plus Advanced Audio” folder, double-click it.
3. Next, double click on “64 bit“.
4. In 64 bit folder, open the “Setup” folder.
5. To execute the setup on your PC, double-click on “DolbyDigitalPlusAAx64“
6. To install Dolby Digital Plus on your computer, follow the on-screen instructions.
7. After you’ve finished, click “Finish” to complete the installation.
You have Dolby Digital Advanced Audio installed on your PC. Play any music or video to see what I’m talking about.
In this video, we are gonna show you how to install Dolby Audio on Windows 10 for free:
That’s about it.
Related Posts:
3 Methods to Extend C Drive in Windows 11/10 (Easily)
 How to Download and Install iTunes on Windows 11
") How to Mirror iPhone to Windows 11 for Free (3 Best Methods)
How to Mirror iPhone to Windows 11 for Free (3 Best Methods) 4 Best Tools to Convert MOV to AVI In High Quality
 How to Install Windows Server On Digitalocean | Get…
 & Mac OS") Download CamHiPro For PC (Windows 11/10) & Mac OS
Download CamHiPro For PC (Windows 11/10) & Mac OS
