In this article, learn how to fix “You require permission from TrustedInstaller” when you try to modify/delete the file/folder from your computer.
Windows has an NTService\TrustedInstaller account in Windows 10. This account owns important files and protects them from being deleted. Hence, if you try to modify any of these files, a Folder Access Denied message will pop up and you will be stopped from proceeding.
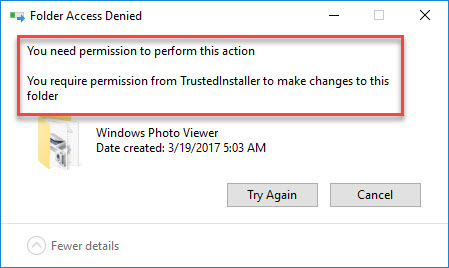
You require permission from TrustedInstaller to make changes to this folder
The only method to still modify/delete these files is to change ownership. Ownership guarantees that you can write/read/execute folders and files without any hindrance. So, in this tutorial, I will see how to get rid of “You require permission from TrustedInstaller to make changes to this folder” error and modify/delete any files/folder on a Windows 10 PC.
How To Fix You Require Permission from TrustedInstaller in Windows 10
First of all, make sure that you are logged in as administrator.
Step 1. Open up File Explorer. Go to the file/folder that you need to change permissions for, right-click on them and select Properties from the drop-down menu.
Step 2. Switch to the Security tab and then click on the Advanced button at the near bottom of the screen. And you’ll now see that the current owner is TrustedInstaller.
Step 3. Then click on the Change button on the preceding screen. Here you need to change the owner of this file/folder from TrustedInstaller to your computer account.
Step 4. Once the window pops up, enter your user account name into the box and then click on Check Names button. Windows will automatically check and complete the full object name. Click OK.
Step 5. Now tick the line “Replace owner on sub containers and objects” if you want to apply the ownership changes to all the subfolders and files.
Step 6. Next, click OK until you have closed all properties windows and are back to the Windows Explorer screen. Then right-click on the file/folder again and select Properties again.
Step 7. Now go to the Security tab again, click on the Advance button.
Step 8. On the permissions window, click on “Add” button at the near bottom of the screen.
Step 9. Click on “Select principle“. A similar window will appear like it did in Step 4 and you need to repeat Step 4. After that, tick all the permission (giving full control) and click OK.
Step 10. Tick “Replace all child object permission entries with inheritable permission entries from this object” and click Apply > OK.
Now you can delete/modify the file/folder that you have just changed ownership without any hindrance.
Video Tutorial: How to remove files Protected by TrustedInstaller in Windows 10
Hope something helps you.

 & Mac OS")


")
