If you can’t turn on Memory Integrity in Windows 11, then this post will show you how to resolve the issue by uninstalling incompatible drivers.
Hypervisor-protected Code Integrity (HVCI) is a virtualization-based security (VBS) feature available in Windows, according to Microsoft. HVCI is commonly referred to as Memory Integrity in the Windows Device Security settings. If you can’t turn on Memory Integrity in Windows 11, this article will show you how to fix it.
HVCI and VBS enhance Windows’ threat model and provide stronger protection against malware that attempts to exploit the Windows Kernel. VBS uses the Windows Hypervisor to create an isolated virtual environment that serves as the OS’s root of trust, assuming that the kernel can be compromised. HVCI is a critical component that protects and hardens this virtual environment by enforcing kernel mode code integrity and limiting kernel memory allocations that could be used to compromise the system.
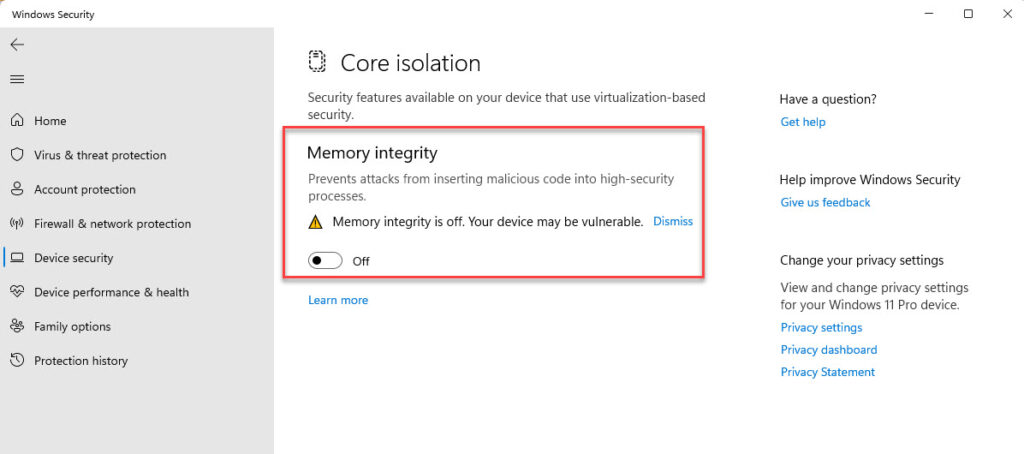
In Windows 11, you may receive a notification from Windows Security that some actions are required. When you click on that notification, you will be taken to Device Security, where you will notice that Memory integrity is disabled under Core isolation.
When you attempt to enable it, the system searches for incompatible drivers. Finally, memory integrity is enabled, and you are prompted to restart the system for the changes to take effect.
However, when you restart the system, you will notice that Memory integrity has been disabled, indicating that your device is still vulnerable. As a result of this chain of events, you will be unable to enable Memory integrity on Windows 11. Here’s how to solve the problem.
How To Fix Can’t turn on Memory Integrity in Windows 11
1. First, click this link to download Autoruns from Sysinternals website.
2. When you run the downloaded file, you’ll be prompted to accept the licensing agreement; click Agree on that window.
3. When Autoruns is launched, navigate to the Drivers tab. Allow the list of drivers to fill up.
4. Locate the driver who has a red or yellow entry due to a problem. As you can see in the screenshot above, I have one driver that is incompatible due to a missing file. When you’ve found the incompatible driver, right-click it and choose Delete. If you are hesitant to delete the driver, you can disable it by clicking the check mark next to it.
5. You may need to download/install compatible drivers after disabling or deleting incompatible drivers. You can then attempt to enable Memory integrity. This time, memory integrity will be enabled even after a reboot.
That’s about it.


 & Mac OS")
")

