If you are using the Camera app on your Windows 10 computer but received error code 0xa00f429f with an error message that says, “Can’t start your camera”, this tutorial will help you to fix it.
This kind of error in the Camera app can be because of a recent update gone wrong or driver corruption. But there is a possibility that sometimes Camera app couldn’t connect to hardware or is not properly installed. In such condition, you can’t start camera in Windows 10.
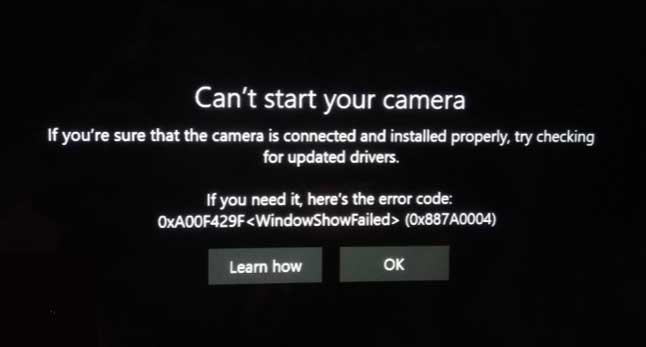
Can’t start your camera
If you’re sure the camera is connected an installed properly, try checking for updated drivers.
If you need it, here’s the error code:
0xA00F429F <WindowShowFailed> (0x887A0004)
Can’t Start Camera In Windows 10 (0xA00F429F)
Thus if you’re also facing this issue and can’t start camera in Windows 10, refer below mentioned suggestions to fix it.
FIX: Windows 10 can’t start your Camera, 0xa00f429f
Here are the methods to troubleshoot the Windows 10 can’t start your Camera, 0xa00f429f are:
- Reinstall or Reset the Windows 10 Camera app
- Using Registry
- Update, Rollback or Uninstall Drivers.
Notes: Make sure to use all of these with admin privileges.
Method 1. Reinstall or Reset the Windows 10 Camera app
1. Go to Settings > Apps > Camera app > Advanced options. Here opt to click the Reset button to reset this app.
or you can also open PowerShell as an Administrator. Execute the following command to remove the camera app:
Get-AppxPackage *camera* | Remove-AppxPackage
2. Restart your system. and install the latest version again from the Microsoft Store here.
Method 2. Using Registry
1. Press the Windows logo key + R at the same time, and then type in regedit. Click OK to open the Registry Editor.
2. Go to the following key:
HKEY_LOCAL_MACHINE\SOFTWARE\WOW6432Node\Microsoft\Windows Media Foundation\Platform
3. In the right pane of Platform registry key, right-click on the free space and choose New > DWORD (32-bit) Value. Name it as EnableFrameServerMode.
4. Set the value data of EnableFrameServerMode registry DWORD remain set to 0, as you created it.
4. Close Registry Editor and reboot your computer.
After restarting your computer, the issue should be resolved.
Method 3. Update, Rollback or Uninstall Drivers
Sometimes the older driver is not compatible with the new and updated version of Windows 10. So you can try getting a new version of that driver if available.
1. Open Device Manager.
2. Go to Camera section and right click on Camera device, select Update driver.
3. Follow on-screen instructions.
You can even uninstall the driver to replace it with the basic driver from Microsoft. You might lose a few features of the official driver with this step but if you wish to use your camera just for some basic video calls or to record videos or capture images using the Windows Camera app, this might be a good solution for you to take.
Download Driver Easy to easily find & fix Camera errors automatically
Other Suggestions
– Restart your system.
– Visit your device manufacturer’s website and install latest webcam drivers for your system model.
– if you’ve external camera, reinstall it.
– Navigate to Settings > Privacy > Camera, make sure the Camera access for this device option is On.
In this video, we will show you how to fix “Can’t start your camera, 0xa00f429f” error in Windows 10
Hope something helps you.

")


