In this article, learn how to download and install Oracle VM Virtualbox on Windows 10 for new user or student.
Let me explain first what is Oracle VM Virtualbox? and which kind of work you can do by using Oracle VM Virtualbox.
Oracle VM VirtualBox is a free source, open-source, cross-platform application for creating, running, and managing virtual machines (VMs). VMs are computers whose hardware components are emulated by the host computer.
Oracle VirtualBox allows you to set up one or more VMs on a single physical machine, and use them at the same time, along with the actual machine. A virtual machine can run its own operating system, including versions of Microsoft Windows, BSD, Linux or MS-DOS. You can install and run as many virtual machines as you want – you are just limited by your hard drive space.
In this blog post, I will teach you how to install Oracle VirtualBox on Windows 10.
How To Install Oracle VirtualBox in Windows 10
Let’s download the following programs to get started. What you need to get started:
- VirtualBox
- VirtualBox extension pack
Step 1. Download VirtualBox installer for Windows 10/8/7
Visit this source to download the binary version for Windows hosts
Step 2. Once the file is downloaded, run the executable to begin installing the program. When you start the installation, a prompt will display like the one below.
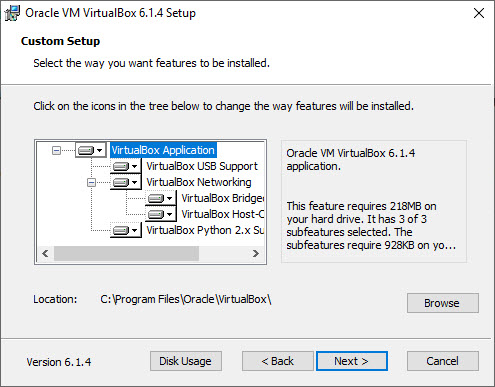
VirtualBox Installation – Custom setup dialog box screenshot
Step 3. In this dialog box, you can select which features to install. As you can see, there is not much to select. You can accept the default and click Next. I normally untick “Create a shortcut in the quick launch bar” and “Register file association“.
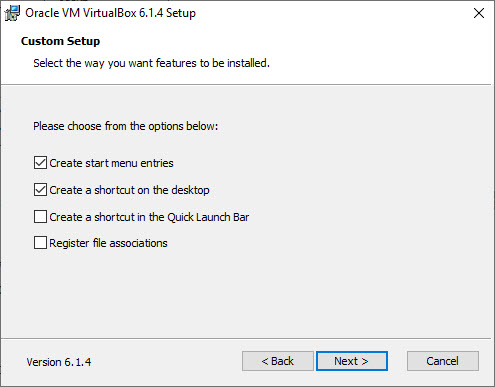
VirtualBox Installation – Custom Setup – Select feature to Install Dialog box screenshot
Step 4. You’ll receive a Network Interfaces warning during the installation wizard. Click Yes to proceed. If you’re in the process of copying or downloading data and files, this will interrupt your network connection in short. Thus, we would recommend you maybe pause the process or wait until you’re done before installing VirtualBox.
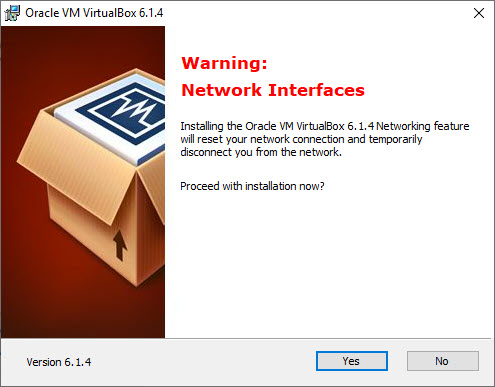
VirtualBox Installation – Network Interface warning dialog box screenshot
Step 5. On the next screen, click Install to continue.
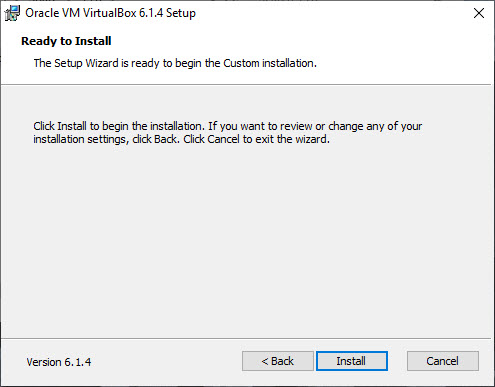
VirtualBox Installation – Ready to Install
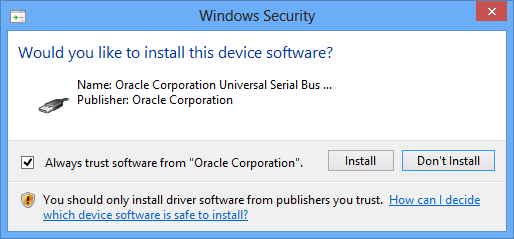
Step 6. When prompted with a message to install (Trust) Oracle Universal Serial Bus, click Install to continue with the wizard.
Step 7. After the installation of VirtualBox is complete, click Finish to exit the installation.

VirtualBox Installation completion dialog box screenshot
Step 8. Now, you can launch VirtualBox application and then install VirtualBox Extension pack which will enable support for USB 2.0/USB 3.0 devices, disk encryption, VirtualBox RDP, NVMe and PXE boot for Intel cards.
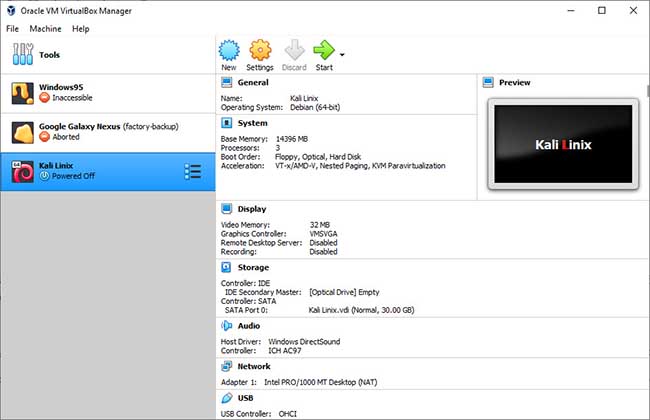
Oracle VM VirtualBox Manager
You can download VirtualBox Extension pack from this site. Find the extension pack on the site, click on all supported platform to start the download process.
Step 9. To install extensions, launch VirtualBox, click File > Preference > Extensions > Add new package (click on the + sign and go to the downloaded file). Click OK.
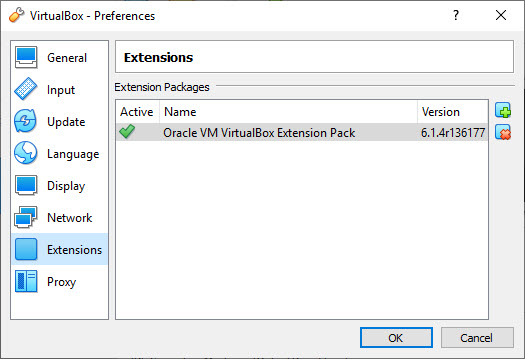
VirtualBox Install Extension
Step 10. Lastly, The VirtualBox application will be ready to use and install guest operating systems.
This video shows you how to install VirtualBox 6.1.22 on Windows 10 systems.
Hope something helps you.
Now read: How to install Kali Linux in VirtualBox


")


