In this tutorial, learn how to change default font for new documents in Microsoft Word 2007/2010/2013/2016/2019.
After initial installation, Microsoft Word typically uses Times New Roman serif font as its default. This style of font may not be the font you want to use most usually for your documents. Although you can choose a new typeface from the ribbon each time you open the program, changing your preferred font as the default eliminates the need for that extra step.
How To Change The Default Font in Microsoft Word 2019 for Windows PC
This guide applies to Microsoft Word 2007, Microsoft Word 2010, Microsoft Word 2013, Microsoft Word 2016, Microsoft Word 2019.
Step 1. First, open the word document.
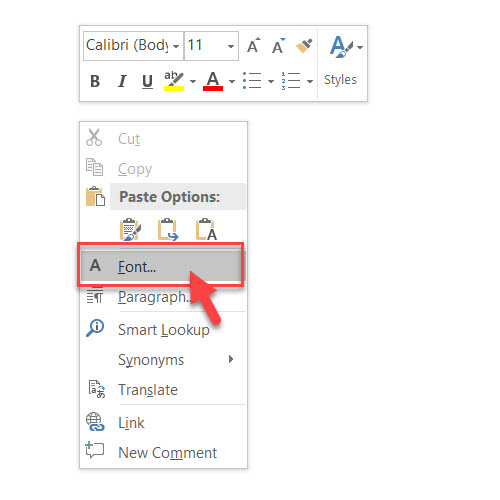
Step 2. When the document is opened, you can see the default font in Font window. To change it, right-click on the empty space in the Word document. Select “Font” from the list.
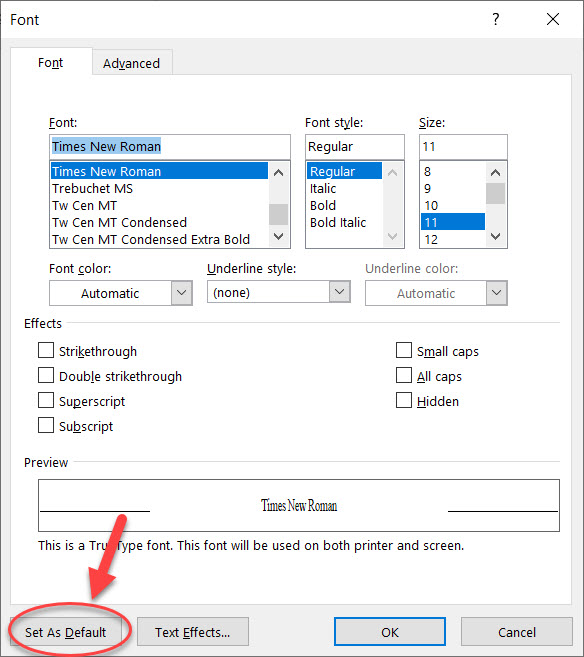
Step 3. In following window, you can choose “Font” you prefer. And change some “Advanced” settings.
Step 4. After that, click “Set As Default” and you will see the warning about changing the default font.
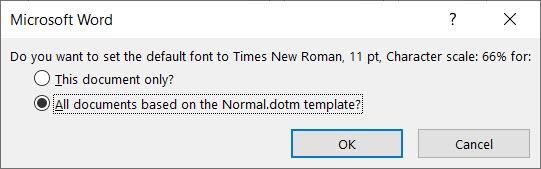
Step 5. Select “All documents based on the Normal template” and click on “OK“.
Now you can re-open Word. In font window you can see the new default font.
VIDEO TUTORIAL: How to Set a Default Font in Word 2019 For Windows
Hope something helps you.


")
 & Mac OS")
