Want to see your iPhone screen on your Windows 11 PC — without spending a dime? Whether you need to share your screen during a presentation, record a tutorial, or simply enjoy your apps on a bigger display, screen mirroring is the answer.
In this guide, we cover the 3 best free methods to mirror iPhone to Windows 11, step by step. No cables required for most of them, and no paid subscriptions needed.
Quick Comparison
| Tool | Connection | Best For | Free? |
|---|---|---|---|
| LonelyScreen | Wi-Fi (AirPlay) | Quick wireless mirroring | Yes (basic) |
| 3uTools | USB Cable | Stable, no lag | Yes, fully free |
| ApowerMirror | Wi-Fi or USB | Feature-rich mirroring | Yes (free tier) |
Method 1: LonelyScreen (AirPlay Receiver)
LonelyScreen turns your Windows 11 PC into an AirPlay receiver. Since iPhones already have AirPlay built in, this is the most seamless wireless option — no extra iPhone app required.
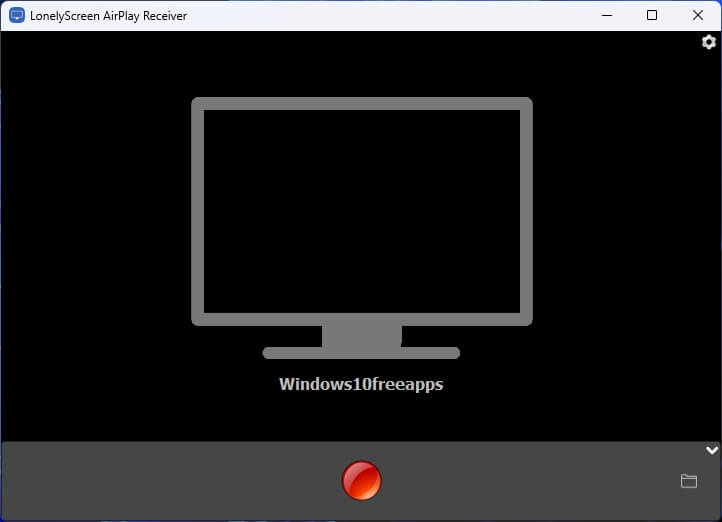
Mirror your iPhone screen to a Windows 11 PC using LonelyScreen AirPlay.
What You Need
- iPhone running iOS 7 or later
- Windows 11 PC
- Both devices connected to the same Wi-Fi network
- LonelyScreen installed on your PC (free download at lonelyscreen.com)
How to Set Up LonelyScreen
Step 1: Go to the LonelyScreen website, download the installer, and install it on your Windows 11 PC. After the installation is complete, launch the app.
Download LonelyScreen for Windows
Step 2: When Windows Firewall asks for permission, click “Allow Access”. This allows LonelyScreen to work properly with AirPlay.
Step 3: On your iPhone, swipe down from the top-right corner to open the Control Center. Tap “Screen Mirroring”, and you should see “LonelyScreen” in the list of available devices.
Step 4: Select “LonelyScreen”, and your iPhone screen will immediately appear on your PC. You can resize the window or move it anywhere on your desktop.
Pros & Cons
| Pros | Cons |
|---|---|
| Completely wireless | Watermark on free version |
| No iPhone app needed | Slight latency on busy networks |
| Super easy setup | Both devices must share Wi-Fi |
| Supports audio mirroring |
Method 2: 3uTools (USB Connection)
3uTools is a popular all-in-one iPhone management tool for Windows. Among its many features, it includes a high-quality screen mirroring function that works over USB — making it the most stable option with virtually zero lag.
What You Need
- iPhone running iOS 7 or later
- Windows 11 PC
- Lightning or USB-C cable
- 3uTools installed on your PC (free at 3u.com)
- iTunes (or Apple Mobile Device Support) installed for device drivers
How to Set It Up 3uTools
Step 1: Go to the 3uTools website and download the latest version of the software. Install it on your Windows 11 PC, then open the application.
Step 2: Connect your iPhone to your computer using a Lightning or USB-C cable. Unlock your iPhone and tap “Trust” if a trust message appears.
Step 3: Inside 3uTools, click on “Toolbox” from the top menu, then select “Real-time Desktop”. A new mirroring window will open automatically.
Step 4: You can now adjust settings such as resolution and screen rotation. For the best performance and smoother mirroring, it’s recommended to keep the default resolution settings.
Pros & Cons
| Pros | Cons |
|---|---|
| Completely free — no watermark | Requires a USB cable |
| Zero lag via USB | Must install iTunes/Apple drivers |
| No Wi-Fi needed | Bulkier app with many features you may not need |
| Also manages iPhone files, backups, etc. |
Method 3: ApowerMirror (Wi-Fi or USB)
ApowerMirror is a versatile mirroring app that supports both wireless and wired connections. The free tier offers solid mirroring with no time limits, making it a great choice if you want more control over how your screen is displayed.
What You Need
- iPhone running iOS 9 or later
- Windows 11 PC
- ApowerMirror installed on both your PC (apowersoft.com) and your iPhone (App Store)
- Same Wi-Fi network for wireless mode, or a USB cable for wired mode
How to Set Up ApowerMirror (Wi-Fi Method)
Step 1: Download ApowerMirror from the official ApowerSoft website and install it on your Windows 11 PC. Then install the ApowerMirror app from the App Store on your iPhone. Make sure both devices are connected to the same Wi-Fi network.
Step 2: Launch ApowerMirror on your PC. On your iPhone, open the ApowerMirror app and tap the “Mirror” button at the bottom of the screen.
Step 3: The app will automatically search for nearby devices on your network. When your PC appears in the list, tap on it to connect.
Step 4: A Screen Broadcast or AirPlay prompt will appear on your iPhone. Tap “Start Broadcast” or “Mirror” to begin screen mirroring. Your iPhone screen should appear on your PC after a few seconds.
Bonus: USB Method
Prefer a wired connection? Connect your iPhone to your PC with a USB cable, open ApowerMirror on both devices, and select “USB” as the connection method in the iPhone app. This delivers a more stable, lower-latency connection.
Pros & Cons
| Pros | Cons |
|---|---|
| Works over both Wi-Fi and USB | Free version shows occasional ads |
| Includes screen recorder & annotation tools | iPhone app required (unlike LonelyScreen) |
| Fullscreen & landscape support | Slightly more complex setup |
| No time limit on free tier |
Conclusion
All three methods get the job done for free — here is a quick summary to help you choose:
- Choose LonelyScreen if you want the simplest, cable-free setup and don’t mind a small watermark.
- Choose 3uTools if you need a rock-solid, lag-free mirror and don’t mind plugging in a cable.
- Choose ApowerMirror if you want the most features (recording, annotation, fullscreen) with flexible connection options.
Got questions or a different tool that works great for you? Drop a comment below — we read every one.


![How to Configure Proxy Settings on Android Devices [FREE]](https://windows10freeapps.com/wp-content/uploads/2024/12/setting-up-a-proxy-for-a-wi-fi-network-1-150x150.jpeg "How to Configure Proxy Settings on Android Devices [FREE]")

