In this tutorial, learn how to password protect a folder in Windows 10.

If you want to keep some computer files secret then this tutorial will help hide and password protect your data from prying eyes.
How To Password Protect A Folder In Windows 10 (Without Software)
You will be using a batch file to create a folder and password for yours and then hide that folder without any additional programs.
Step 1. Download the password-protect-folder-windows-10.txt file.
Step 2. Copy this text file to the folder where the files you want to protect.
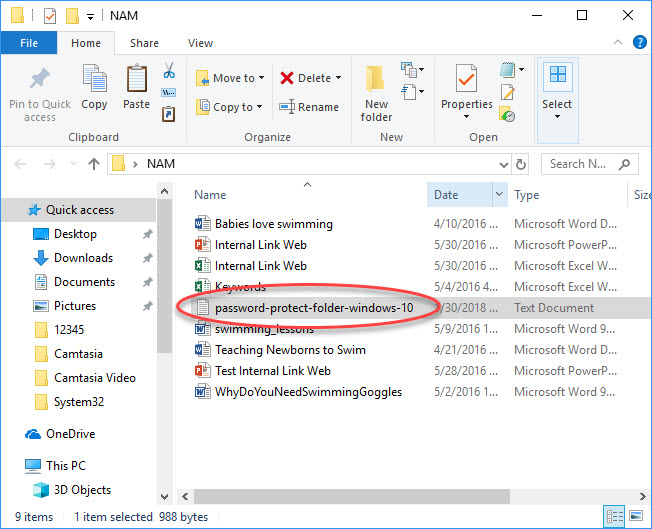
Step 3. In the folder, open the password-protect-folder-windows-10.txt file by double-clicking it. Then search for where it says “My-Password-Here” in the document.
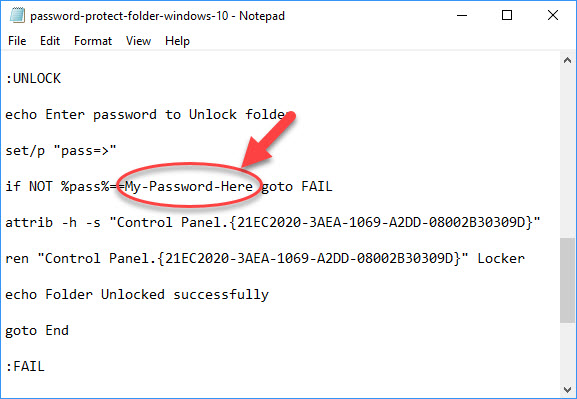
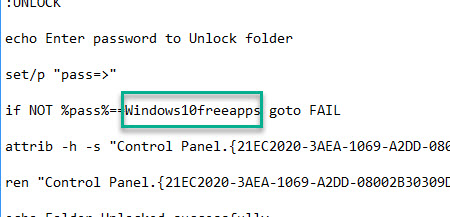
Step 4. Then, change “My-Password-Here” to the password you want to lock the folder with.
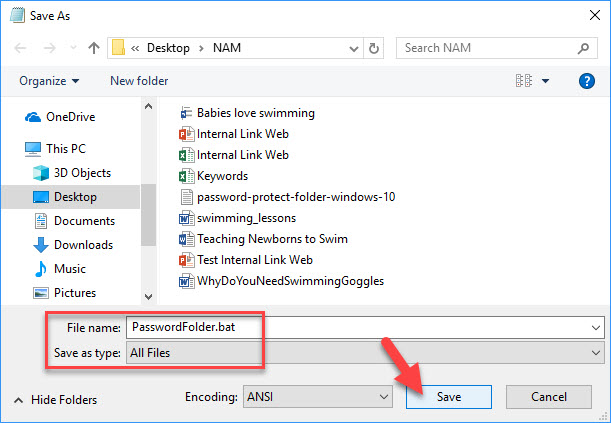
Step 5. Select File > Select Save As… (or press Ctrl + S keys)
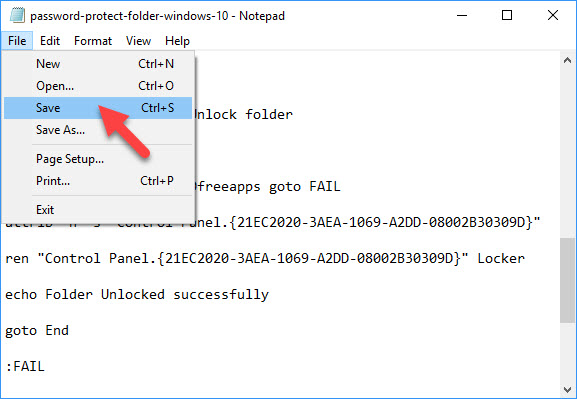
Step 6. Select on the “Text Documents (*.txt)” menu bar that’s next to “Save as type:“. After that, select “All Files”
Step 7. Replace the file name with “PasswordFolder.bat“. Click “Save”
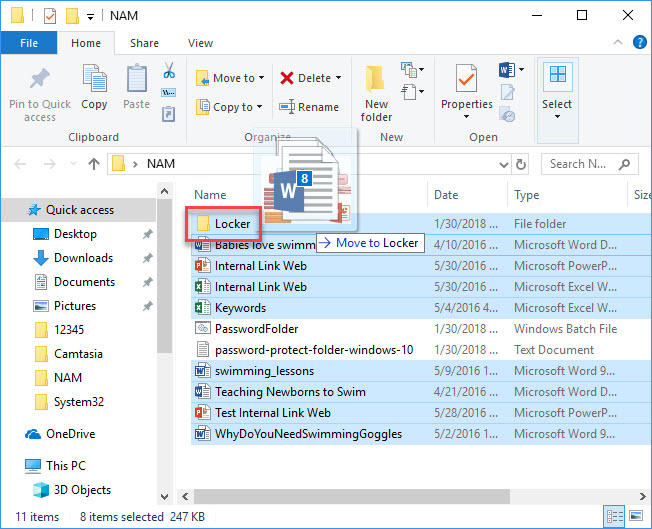
Step 8. Now, double-click PasswordFolder.bat file. This will generate the Locker folder.
Step 9. Move the Locker folder with the files, folders … you want to protect.
Step 10. Open the PasswordFolder.bat file again. Then, type Y and press Enter. The Locker folder will disappear.
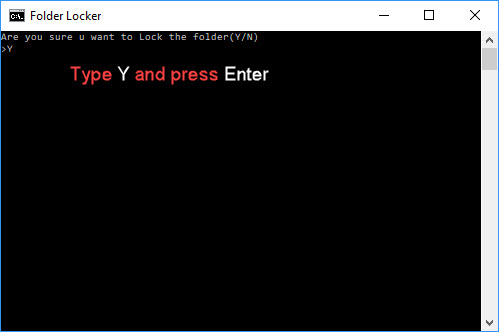
That’s it. Now, your folder is safe!
To unlock the folder, double-click PasswordFolder.bat file to open it. Then type your password (in Step 4) and press Enter.
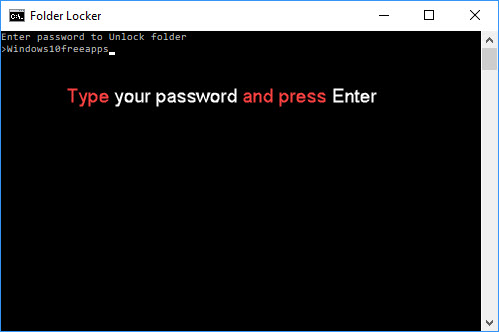
The Locker folder is back.
Here is the video to illustrate more how to lock a folder on Windows 10:
Hope something helps you. If you have any other Windows 10 error you can see for the solution on my website.
Related Posts:

")


 & Mac OS")