Although all video files were taken with GoPro and other types of digital cameras containing sound, you may see the message ‘The file has no audio or video streams’ when attempting to import mp4, mov and MTS files into Adobe Premiere Pro in some circumstances.
Even though you won’t use the sound that was recorded by the camera in the final cut of your film, this might be extremely aggravating. These issues can be easily fixed, therefore we’ll show you a few different ways to fix audio importing issues with Adobe Premiere Pro in this post.
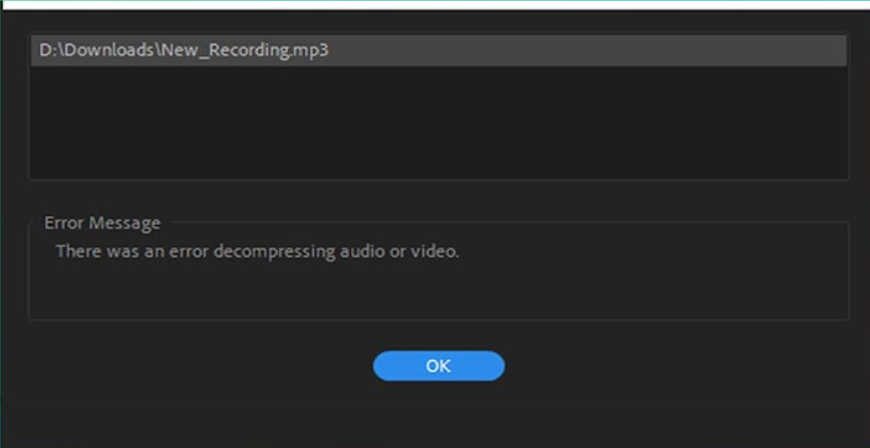
There was an error decompressing audio or video
How To Fix Audio Importing Issues in Adobe Premiere Pro
There are a number of things that can cause Adobe Premiere Pro to stop functioning properly, and if the app won’t let you import video files into a project because it doesn’t have any audio or video streams, there are a few ways you can do to repair it without having to reinstall your computer’s operating system or the Adobe Premiere Pro version you’re currently using.
1. Clearing the Media File Cache
If you tried to import a video file into a project and the program told you it couldn’t because there was no audio stream, you should go to the Edit menu and pick the Preferences Tab. When the Preferences window appears, select the Media tab and then delete all files in the Media Cache Database and Media Cache Files folders. After cleaning both of these directories, reboot the application and try to import the video clips into the project again. If the problem remains, there are several more options.
![]()
2. Renaming the Media Cache Folder
On Mac computers, the Media Cache Database and Media Cache Files directories are located in /Users/Library/Application Support/Adobe/Common, and on PC machines, they are located in \Users\\AppData\Roaming\Adobe\Common. All you have to do now is close all Adobe applications, including Adobe Premiere Pro, and then navigate to the place where these files are kept and rename them to Media Cache Files_OLD and Media Cache_OLD, respectively. Start Adobe Premiere Pro and see if your video files can be imported into the editor.
3. Moving Media Files to a Different Folder
If renaming the folders doesn’t work, try moving them away from their default place. You can set them wherever you like on your computer, but it’s best if you choose a place that’s easy to remember so you can immediately access them if you need to erase things saved there.
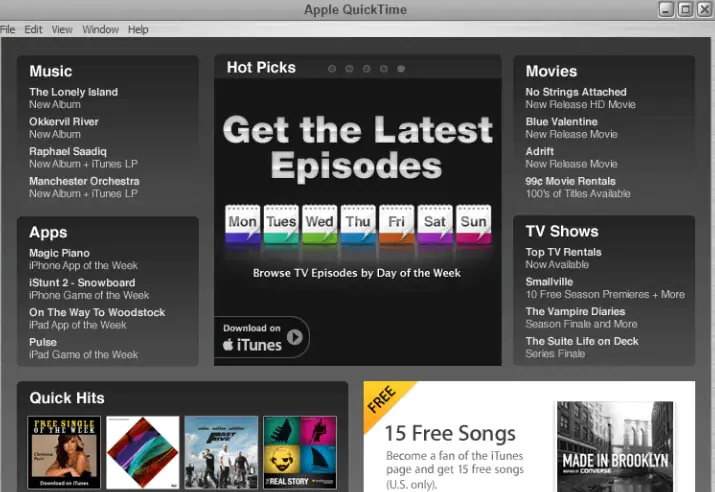
4. Installing the QuickTime Player
The simplest answer isn’t always the most productive. Check to see if QuickTime is installed on your machine since this can help with audio importing problems with Adobe Premiere Pro. Additionally, if you have recently reinstalled your operating system, you should download and install QuickTime before starting Adobe Premiere Pro. Go to the Edit menu, find the Preferences submenu, and select the Media option after you’ve created a new project. Clean the Media Cache Database and Media Cache Files directories, then restart Adobe Premiere Pro and import the video files.
An Alternative Way to Import Video Without This Issue
If you’re having trouble importing your movie into Adobe Premiere Pro and need to work on it, Wondershare Filmora is a good option. Filmora gives a comprehensive collection of tools with which to work. You can effortlessly control your audio across the platform with the help of multiple editing tools. Filmora has a simple and intuitive user interface to operate with.
Filmora gives a highly powerful framework while being incredibly simple and effective to use, making it one of the finest on the market. It has the potential to be a great alternative to Adobe Premiere Pro. Users can feel comfortable while working on Filmora because of its user experience.
Steps to Import Videos in Wondershare Filmora
They can import their audios by following the step-by-step guide provided below, as Filmora gives a great user experience.
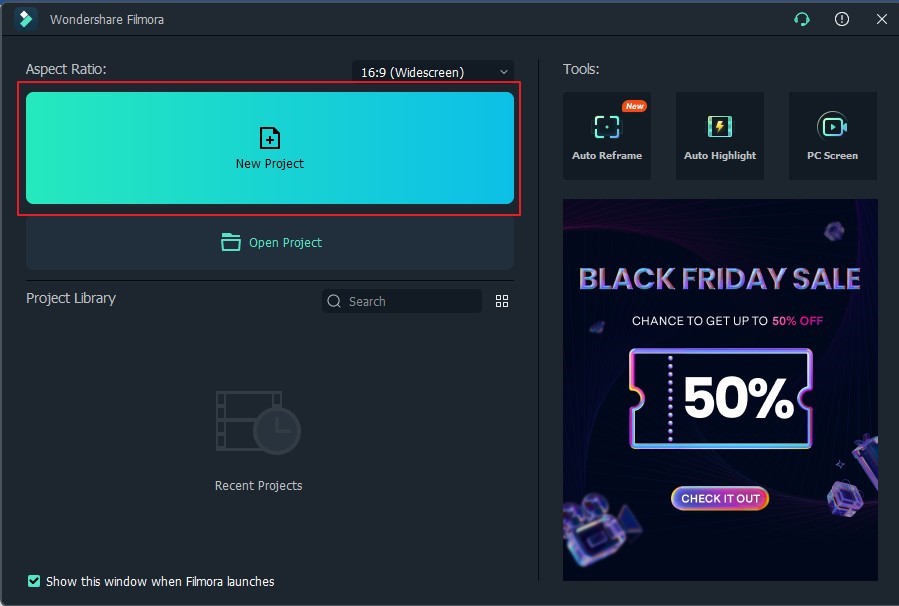
Step 1: Create a New Video Project
You must go to Filmora’s official website and download the software. Launch the software when it has been installed. To start a new project, select “New Project” from the drop-down menu.
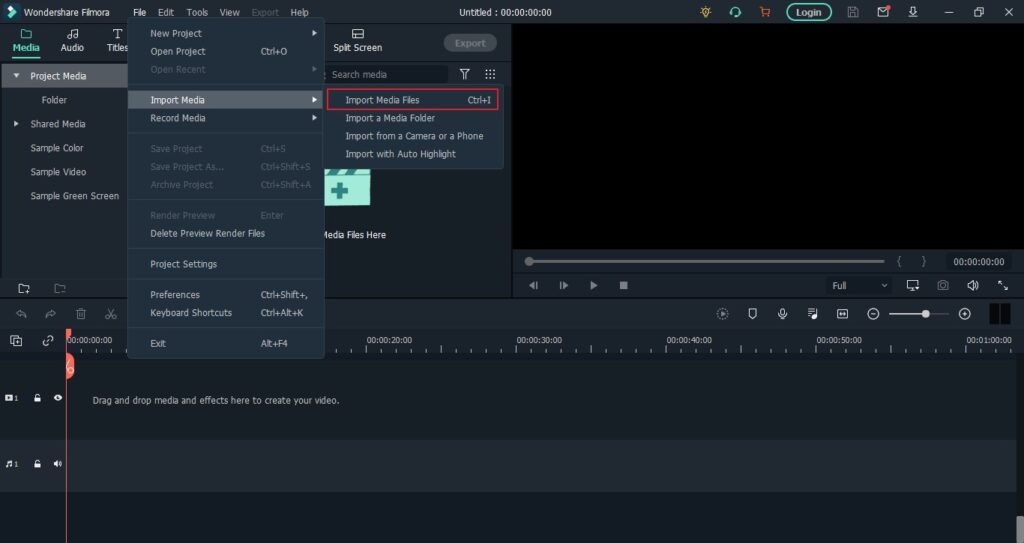
Step 2: Import from File Tab
Three distinct techniques for importing audio on Filmora can be used once a new window has opened. Select “Import Media Files” from the “Import Media” drop-down menu by tapping on “File.”
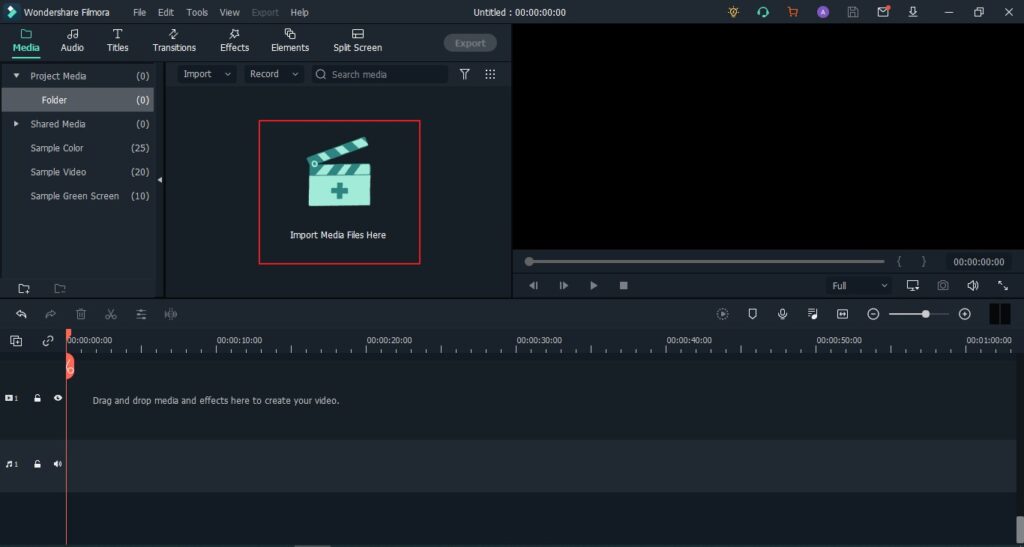
Step 3: Import from Import Button
The second option uses a button to prompt users to import audio. To add audio to Filmora directly, the user must tap the “Import Media Files Here” button.
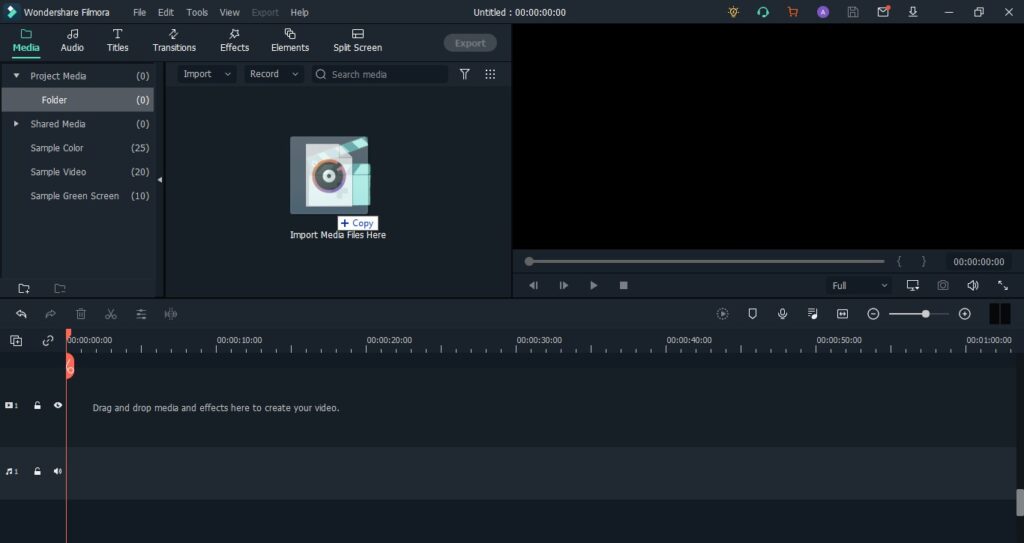
Step 4: Import by Drag and Drop
On Filmora, users can import audios in a different way. They can drag and drop audio files directly onto the platform and use various tools to accomplish functions.
Check this video for more help:
Conclusion
If the strategies we gave in this post for resolving audio importing issues in Adobe Premiere Pro don’t work, you should consider reinstalling the operating system on your machine. Was this post beneficial to you? Please let us know by leaving a comment.


 & Mac OS")

![How to Configure Proxy Settings on Android Devices [FREE]](https://windows10freeapps.com/wp-content/uploads/2024/12/setting-up-a-proxy-for-a-wi-fi-network-1-150x150.jpeg "How to Configure Proxy Settings on Android Devices [FREE]")